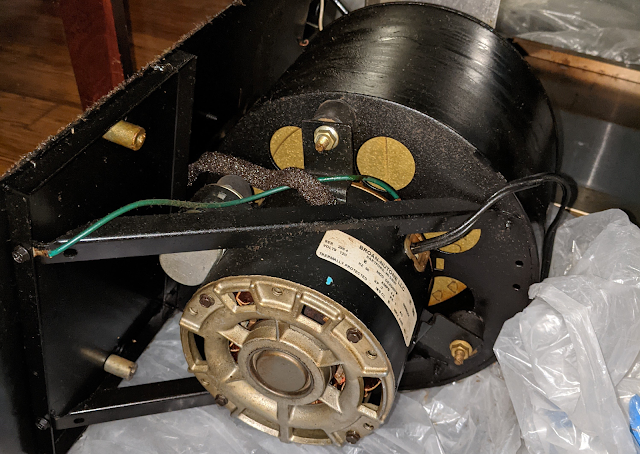
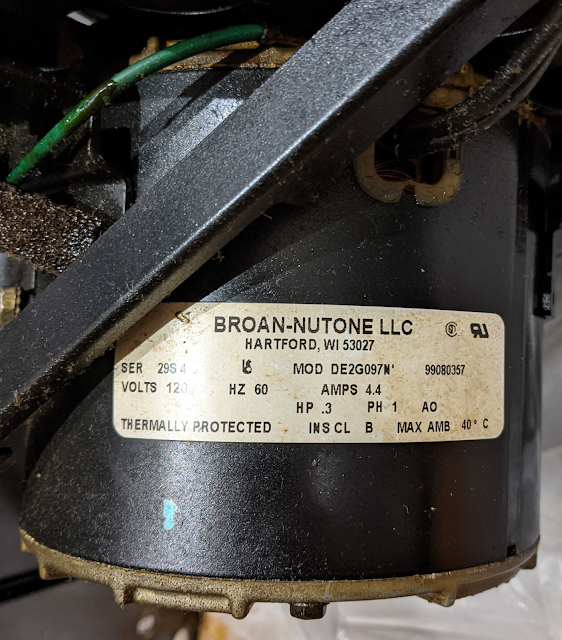
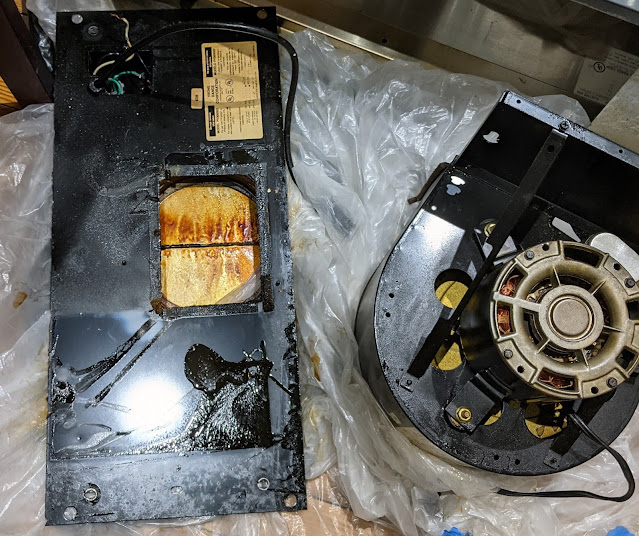
The fan unit is comprised of two major parts
- Broan Nutone Motor (DE2G097)
- Viking ROUGH IN, TRANSITION, DAMPER (PV300002)
Warning
Before proceeding with this work, I turned off the circuit breaker servicing this hood, and used a non contact tester to ensure no electric current in the 14/2 wire feeding a junction box on the top of the hood.Electrical Disconnect
- from the motor into the control panel, and
- a wire from the junction box into the control panel
Since, I had access to the top of the hood, I was also able to loosen the clamp connector and remove the 14/2 electrical wire.
Detaching the Fan unit from the Ventilator Hood
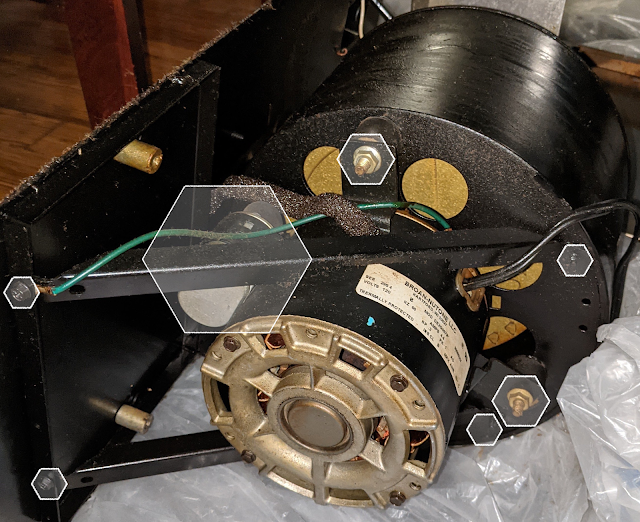
Once the electrical wires were disconnected, I had to loosen 4 stop nuts that attach the fan unit to the hood's roof. It was easier to use a 10mm socket drive. You will need someone to hold the fan in place while the nuts are loosened
Removing the Fan Blades
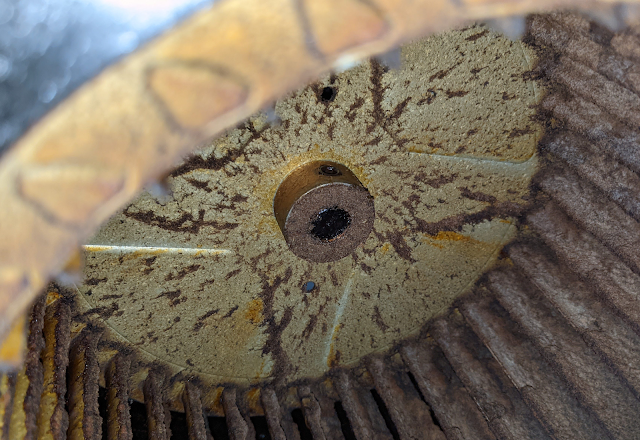
The fan blades (squirrel cage) are attached to the motor shaft and is secured with a set screw. I had to buy a set of hex allen wrenches in order to use a 4mm wrench to loosen the set screw.
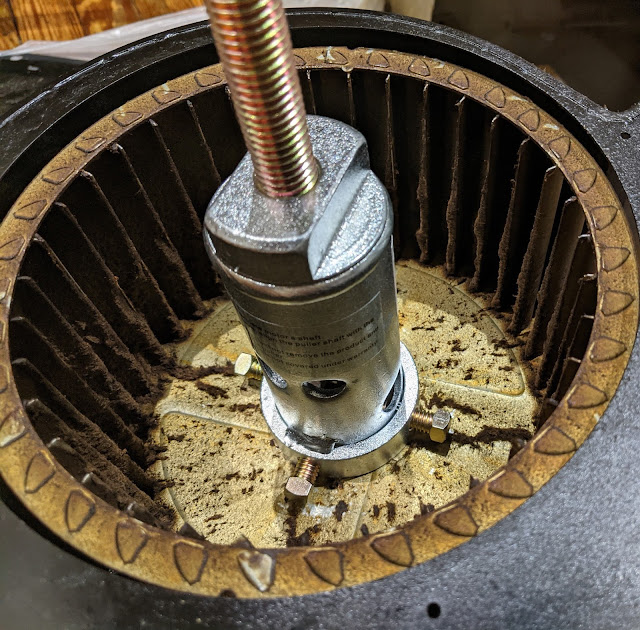
Unfortunately the fan blades were stubborn and refused to come off the shaft. I debated whether to use some WD-40 but after watching a couple of youtube videos, decided to use this fan blade puller.
https://www.youtube.com/watch?v=JMfPkMuZiQg
https://www.youtube.com/watch?v=y9-bbEjPyP0
Detaching the Fan Motor
I had to remove the diagonal bars (pic below) attaching the Transition piece to the Rough-in for easier access to the motor. The fan motor is attached to the transition section (pic below) using 3 nuts. It is also grounded to rough inThe motor has a capacitor (pic above/below), which I had to replace a couple of years ago.
Separating the Transition from the Damper
The Rough in, Transition, Damper (PV300002), can be easily split up into their individual parts, by unscrewing the screws that attach each other.
