This is how I fixed a leaky bathroom faucet
Most American faucets contain a cylindrical cartridge that controls the flow of water through the faucet.- The top part of the cartridge has an o-ring around it. This ensures a good seal and prevents water that is under pressure from leaking at the base of the faucet when the tap is open and closed.
- The base of the cartridge has an inlet and outlet. The inlet rests on a spring and seat. This ensures that the incoming water only goes into the cartridge. A weak seal can cause a dripping faucet.
It's possible for these o-rings to deteriorate over time and cause leaks.
The cartridge itself contain plastics and ceramics that can fail over time. A dripping faucet or the inability to control the water flow is a sign that the entire cartridge needs to be replaced
Parts
I had water leaking out of the base of the faucet whenever I turned it on and off. This was an indication that the o-ring and seat needed replacement. From the pic above, it obvious that cartridge looks worn so I decided to replace it. I don't have a link to the replacement, but I took the entire cartridge to HomeDepot and got a replacement that was identical
The price of a replacement cartridge can vary depending on the brand. They are usually only a few dollars more than the o-ring repair kits. In case you decide to repair, here are comparable replacement o-rings -
Delta RP28603 Replacement Part
Removing the Cartridge
Shut off water to the faucet !
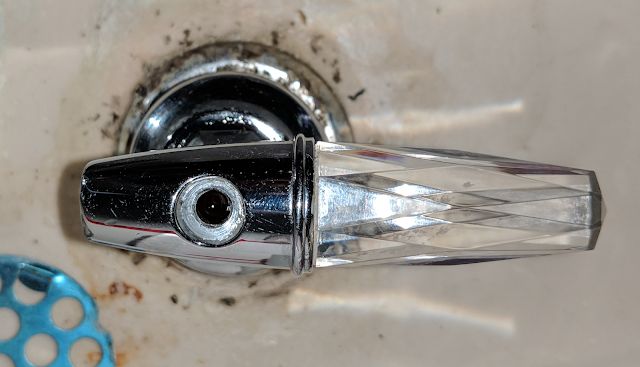
The first step is removing the handle and the enclosure around the cartridge. This varies depending on the make of the faucet. In my case, the handle was screwed into the top of the cartridge. Once the handle is removed, the enclosure was removed by rotating it counter clockwise.
The cartridge is held in place against the water pressure by a cylindrical nut. This can be removed with a pipe or adjustable wrench.
You may need another wrench at the base of the faucet to ensure that the threads don't move. The wrench teeth can damage the fixtures so in some cases it is a good idea to use a rubber strap wrench.
Once the cylindrical nut was removed, I could easily pull out the cartridge.
Seat and Cartridge Replacement
I fished out the spring and seat from the floor of the chamber with a pipe burrer (as it was the only tool with a hook I could find).
I then put in a new cartridge and screwed the cylindrical nut back on.
Before putting back the enclosure and handle, I decided to remove some of the mineral deposit around the faucet by using paper towels soaked in vinegar.


