One day, to my dismay I discovered that I did not have any hot water in the shower. I feared that my water heater had finally given up the ghost. It turns out that it hadn't, because I did have hot water in all the other faucets in the house. There was something wrong with my shower faucet.

I did a fair bit of research on Kohler's website before discovering that my faucet was the following now discontinued model -
Revival Trim K-T16117-4 Brushed Nickel
From the manual on the Kohler website (link above), the replacement parts are the following -
Kohler Part GP876851 Rite-Temp Mixer and Pressure-Balancing Unit Kit, SINGLE, Black
They can be purchased individually, however do end up costing more than the kit. I decided to order the kit because past experience had shown me that it is better to have the parts on hand just in case. Also, if I were to go through the effort of the repair, I might as well replace both parts , since both have the highest probability of failing over time.
Old Part Removal
Shut off the water supply to the shower. In my case, I did have an access panel, which I could use to shut off both the hot and cold water.
My shut off valves, unfortunately did start leaking around the stem, even after I shut the water. I solved this leak, but first turning off the water supply in the basement and then opening the nut and adding valve packing underneath

Removing the trim can vary depending on your model, but in my case it first involved loosening a set screw, which helped me remove the handle. Next, I had to pull the cylindrical trim while slightly rotating it so as to break up mineral deposits that was causing it to stick to the part underneath. Then I removed the circular plate that is secured with two screws. The back of this plate has a gasket that ensures a water tight seal, but may also require a little bit of careful force to unstick it from the wall while ensuring it does not tear.

With the trim removed, I could now remove the mixer (the part that the handle connects to). This required me to first unscrew two long brass colored machine screws that held the mixer against the pressure balancing unit (PBU) with a round metal bracket. This bracket was quite hefty and I ended up reusing it, since the equivalent replacement part in the kit seemed cheap. They have clearly cut costs, by reducing the amount of metal that is used in this bracket. Once I removed the bracket, I attempted to pull out the mixer. The mixer was fused to the PBU, and both came out as one piece. Later when I tried to separate the two, I discovered that both the mixer and PBU was cracked. This was preventing both the PBU and mixer from allowing the flow from the hot water intake.

Replacement
I first use a paper towel to clean the inside of the water chamber, to ensure that the weren't any large mineral particles, dirt or leftover o-rings, or pieces of the old unit.
Most internal parts that deal with water usually have an o-ring. The replacement kit ships with a really tiny plastic vial of plumbing grease that needs to be applied around the o-rings. This ensures that the o-ring does not scrape the metal as it is inserted, as this can cause it to tear and cause a leak. The back of the PBU has two inlet holes with o-rings that should line up with the holes at the back of the chamber. A notch at the back of the chamber ensures that the PBU is aligned correctly, so there is very little chance to insert this incorrectly.
The next step was to attach the mixer which has only one way to align with the PBU. After this, I put back the circular bracket and tightened the screws. This bracket ensures that the mixer makes a good seal with the PBU, and the PBU makes a good seal with the back of the chamber. If you have a leaky shower faucet, it is possible that one of these seals aren't secure and they are letting water through and causing the faucet to drip
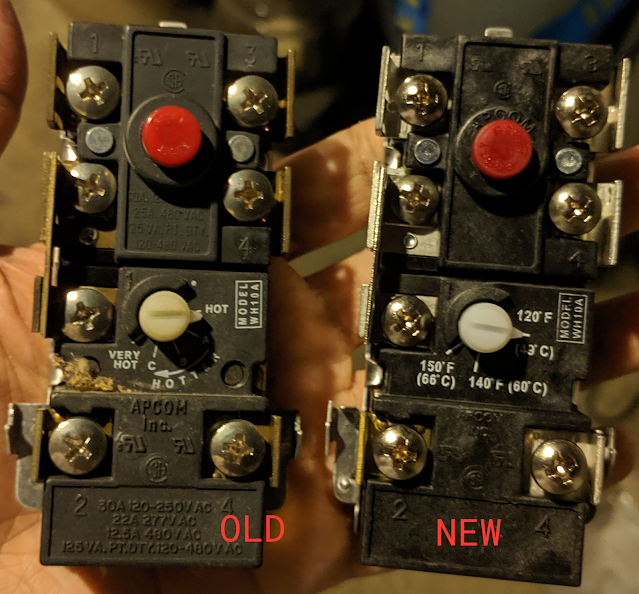
Optional - There is another set screw on the side of the mixer valve that can be adjusted to limit how much hot water is introduced into the mixer. This is primarily for safety. Additionally, if you have a water heater that provides scalding hot water; this can damage the moving parts inside the mixer over time.

The last step was to replace the trim, and handle and tighten the set screw and I was done. I now had hot and cold water at the shower. Additionally, the handle operated a lot more smoothly that it did in the past.